Installing SiteAudit On-Site
This guide will teach you how to install Netaphor SiteAudit™ On-Site. The following video demonstrates the SiteAudit OnSite installation process.
Before You Begin
Before you install SiteAudit On-Site, you should do the following:
Downloading and Installing SiteAudit On-Site
Note: It is common to
perform this procedure multiple times as you install SiteAudit components on
multiple computers.
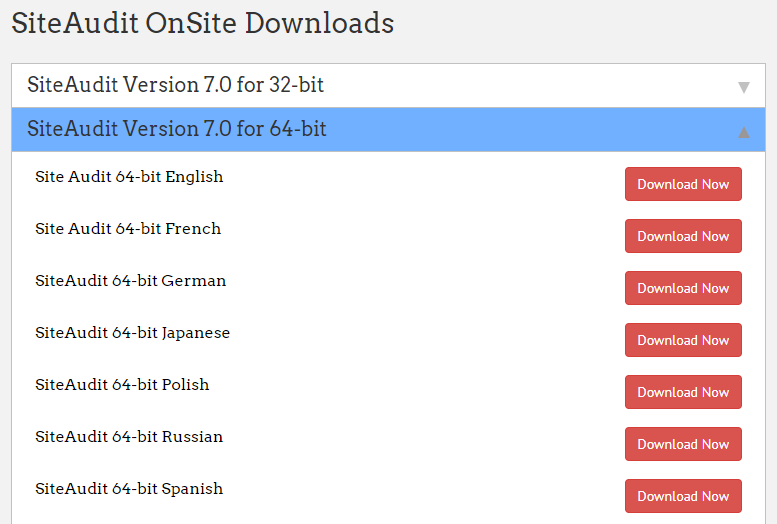
1. Browse to http://www.netaphor.com/
3. Select
the desired language and the format of your Windows version:
4. Double-click
the file to run the installer (for example, SiteAudit64_EN.msi for the 64-bit
English version).
Administrator privileges are required to
install SiteAudit when UAC is enabled
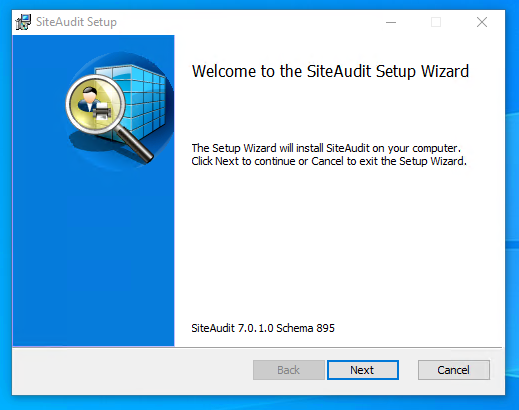
5. On the
welcome screen, click Next.
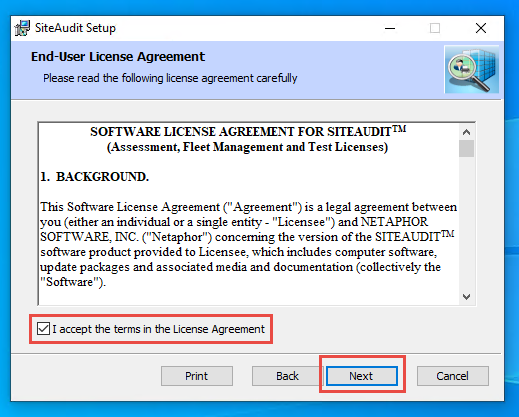
6. Read the
agreement, select the check box, and click Next.
7. Select
the check boxes for the desired components, and click Next.
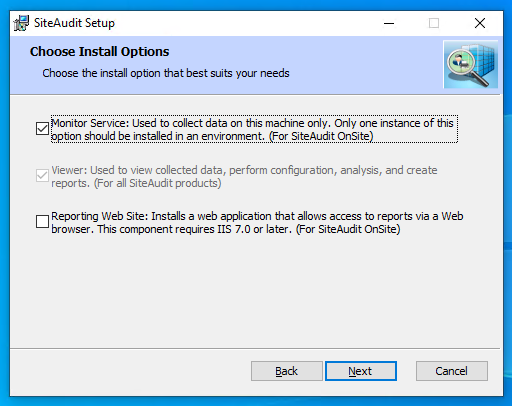
- Monitor Service: This is the SiteAudit
Monitor service.
- Viewer: This is the SiteAudit Viewer. It
is required, and selected automatically, if you select Monitor Service. To install the Viewer only, uncheck Monitor Service and check Viewer.
8. Select an
option based on whether you want other users of the computer to have access to
SiteAudit, and click Next.

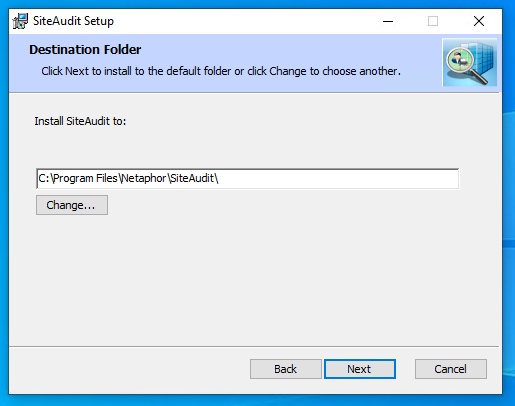
9. Enter the
path where you want to install SiteAudit, and click Next.
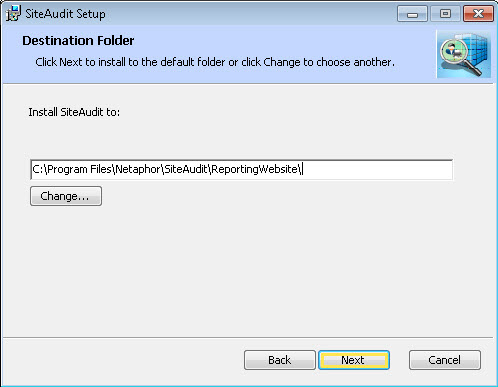
10. If you
selected Access reports via a browser in
step 8, enter the path where you want to install Reporting Web Site, and
click Next.
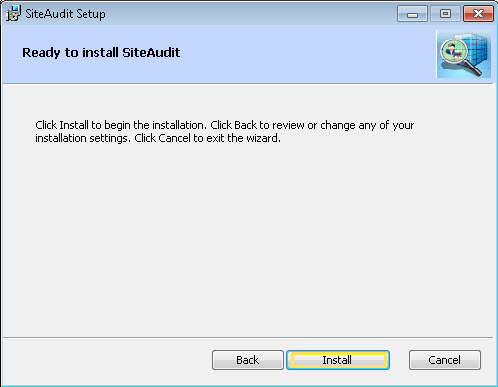
11. Click Install.
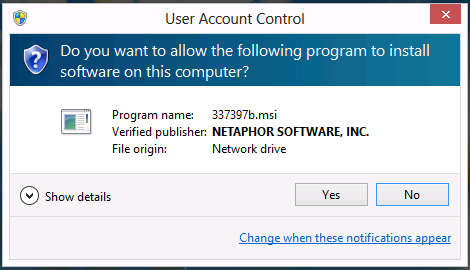
Important: User
Account Control
If you have
User Account Control enabled for your operating system, the installer displays
dialog boxes that require you to confirm certain actions. To complete the
installation, you must click Yes to
allow these actions.
By
default, if you do not click Yes within 2 minutes, the
effect is the same as clicking No: The action fails, and
installation is canceled. Therefore, you should not leave the computer unattended during installation.
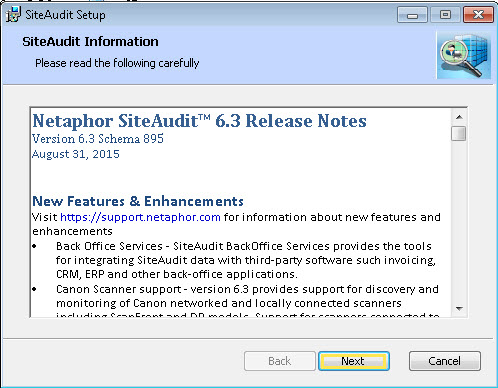
12. Read the
release notes, and click Next.
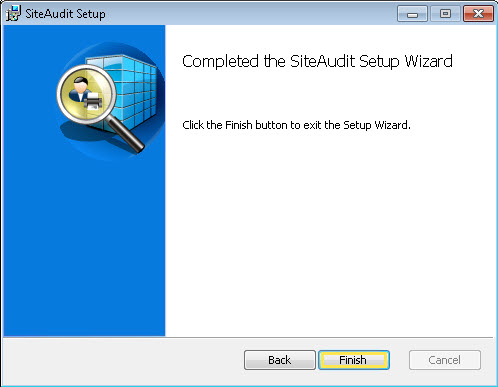
13. Click Finish.