

Sign in to print or save this article
Printing and saving articles is available to signed-in users. Sign in at http://netaphor.com/support/signin, or request an account at http://netaphor.com/support/request-access.
AA-01429 · http://netaphor.com/kb/AA-01429/siteaudit-web-reports
SiteAudit Web Reports
On this page
- Guide to SiteAudit 8.5 Web Reports
- Reporting Service Configuration
- Accessing Web Reports
- 1. Hosted and on-site behavior
- 2. Access the application
- 3. Understand the dashboard
- 4. Select customers in hosted environments
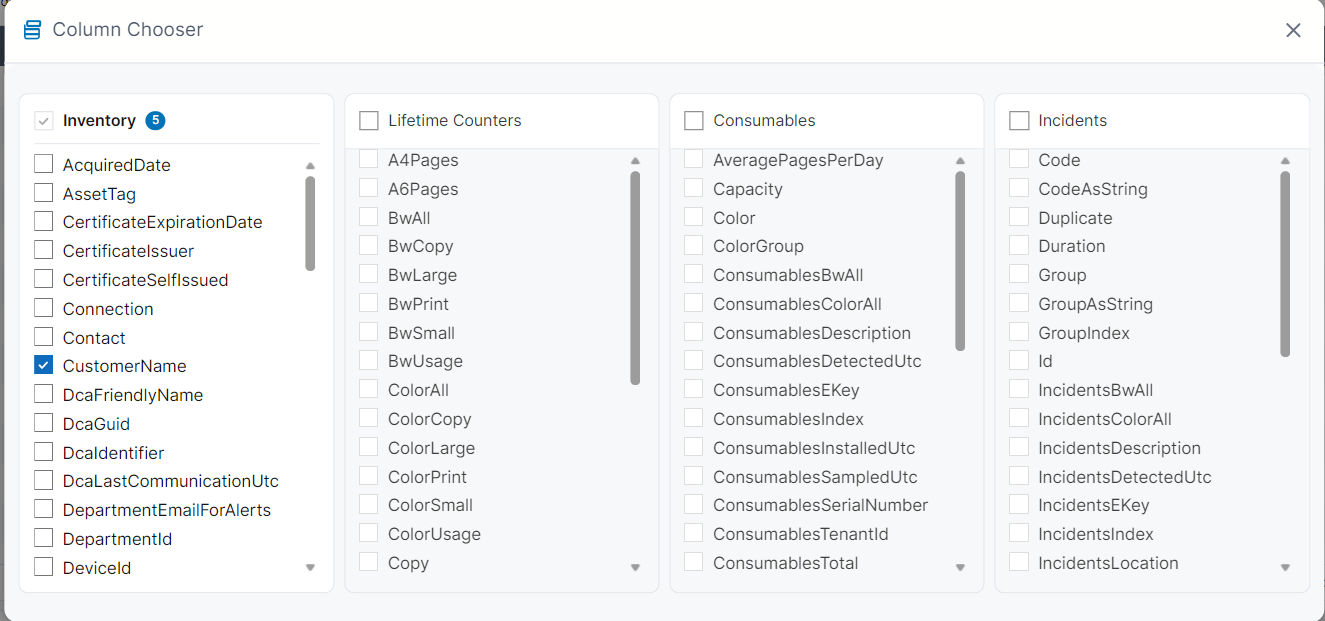
- 5. Define report columns
- 6. Manage custom templates
- 7. Generate and export
- 8. Version and support information
Guide to SiteAudit 8.5 Web Reports
Guide to SiteAudit 8.5 Web Reports
SiteAudit version 8.5 introduces the new Web Reports feature. This feature replaces the Reporting WebSite that was available in versions 8.1.2.4 and prior. Web Reports provide a fast, reliable way to retrieve data about one or more of your customers. It is now possible to generate a single report across all your customers. It is also possible to combine Inventory, Lifetime Counters, and either Incidents or Consumables into a single report across your entire customer base. Reports can be downloaded as CSV or XLSX.
Web Reports are accessed via a browser and require no installation on the user's computer. Web Reports keep customer selection, template design, report fields, browser results, and export in one workflow. Use this step-by-step guide to move through each step in hosted or on-site deployments.
Reporting Service Configuration
Web Reports are available for all Hosted customers and requires no configuration. This article describes how to sign-in to Web Reports and their basic usage.
OnSite Web Report Licensing
In order to use Web Reports with SiteAudit OnSite, the application must be licensed to use Web Reports. To request a license, copy and paste the SiteAudit Viewer User ID (Help > About) into an email and send it to your SiteAudit administrator.
OnSite Web Report Requirements
The Netaphor SiteAudit(TM) Reporting Local Service is created during the installation of Web Reports. By default the Log On As value is set to Local System, which is preferred when accessing the SiteAudit SQL server using SQL Authentication. If using Windows Authentication to communicate with the SiteAudit SQL server, then the Log On As account must be configured with the same user or service account that has the appropriate dbowner access on the server.
Example Log On As when using SQL Authentication to access the SiteAudit SQL Server database.

Example Log On As when using Windows Authentication to access the SiteAudit SQL Server database.

Accessing Web Reports
Hosted users access the web reports from the Management server. For example, if the management server is netaphorabc.com then web reports are accessed at https://netaphorabc.com/reportingserver
For OnSite customers, Web Reports runs on a machine within your environment at port 2850. The web reports are accessed on the machine where they reside,
- https://localhost:2850
- https://<machinename>:2850
- https://<ipaddress>:2850
1. Hosted and on-site behavior
Hosted users may have access to many customer databases and select one or more for each report. On-site users have a single customer, which is selected automatically.
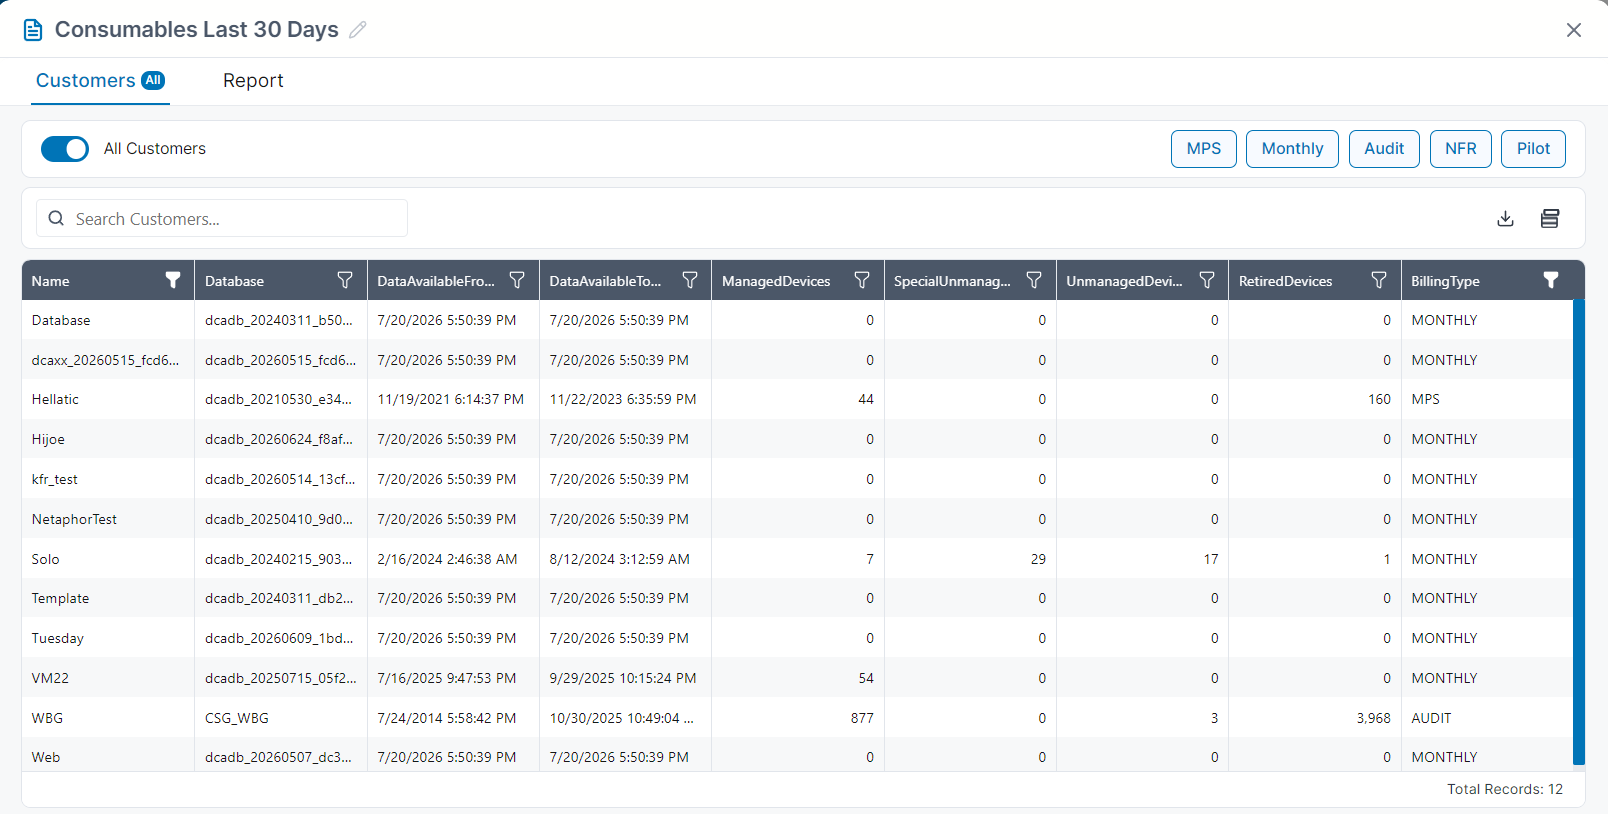
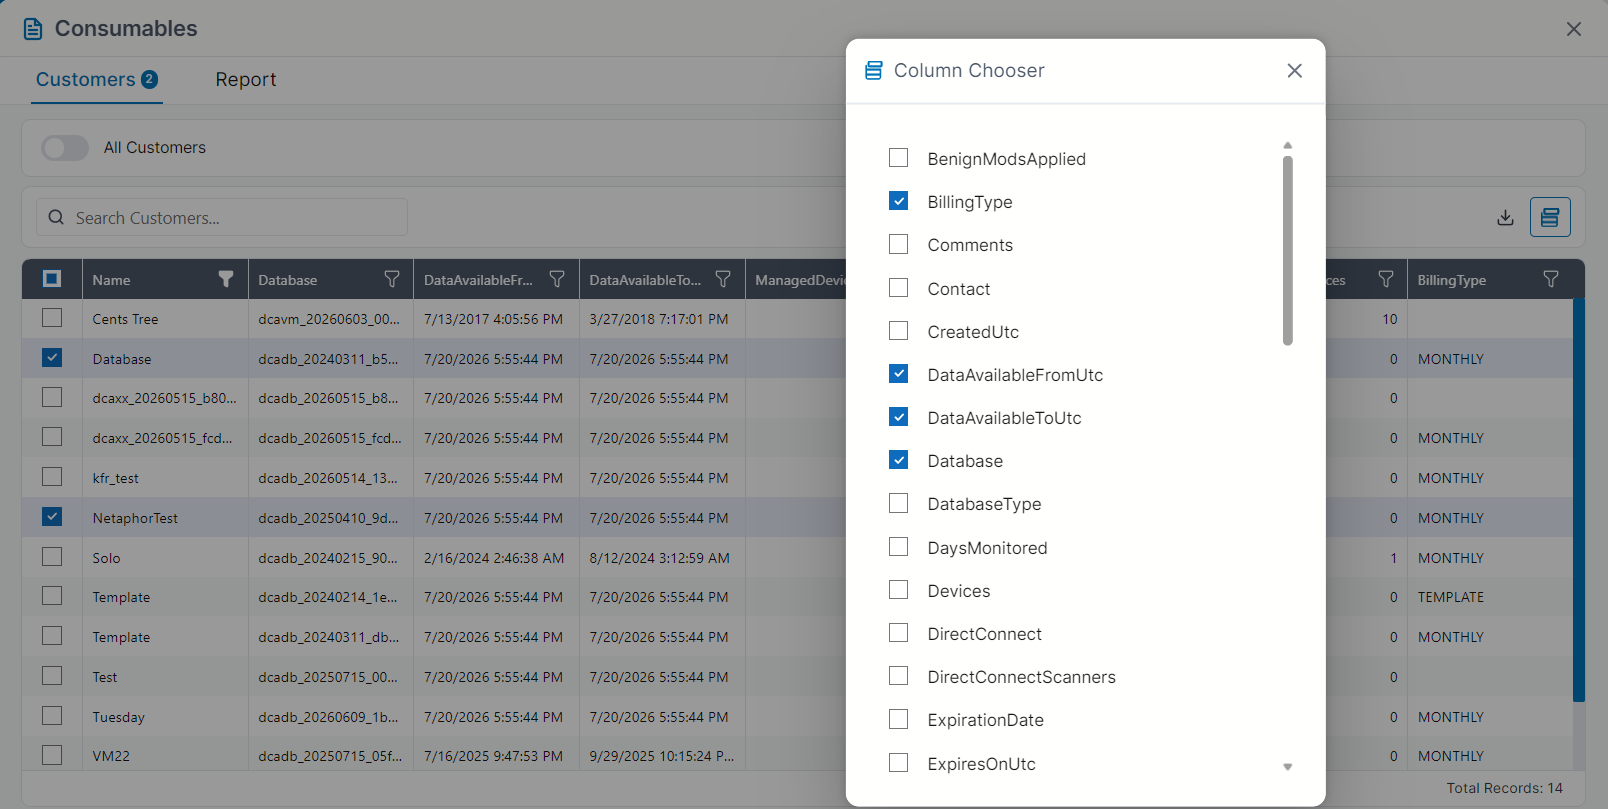
The Customers view contains a Column Chooser that allows one to select which columns appear for the customers. It is also possible to export the customer list as CSV or XLSX
2. Access the application
- Open the Web Reports URL supplied for your environment. For OnSite environments, the application runs on port 2850. To access the site, open your browser and navigate to https://localhost:2850 or https://<machinename>:2850
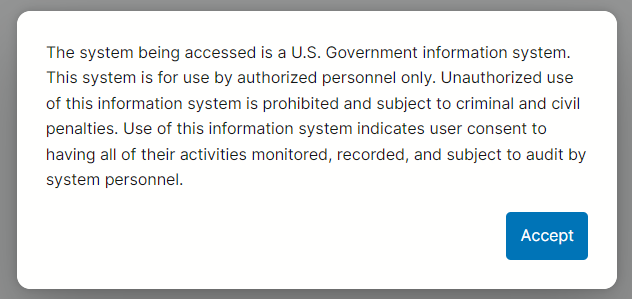
- Read and accept any required warning or government disclaimer.
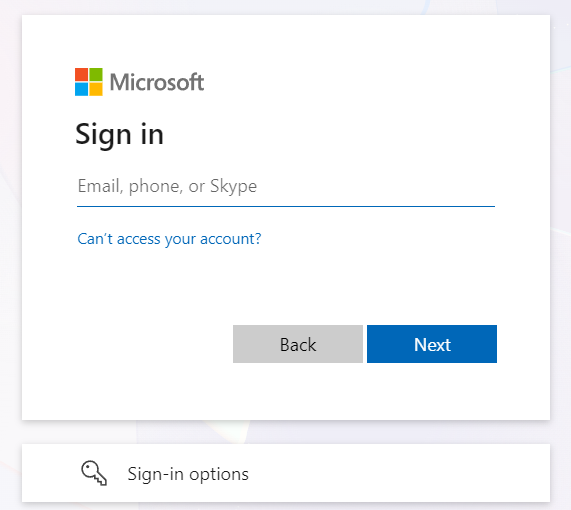
- Sign in. If SSO is enabled, authentication may happen automatically.
- Use the account menu to sign out when finished.
3. Understand the dashboard
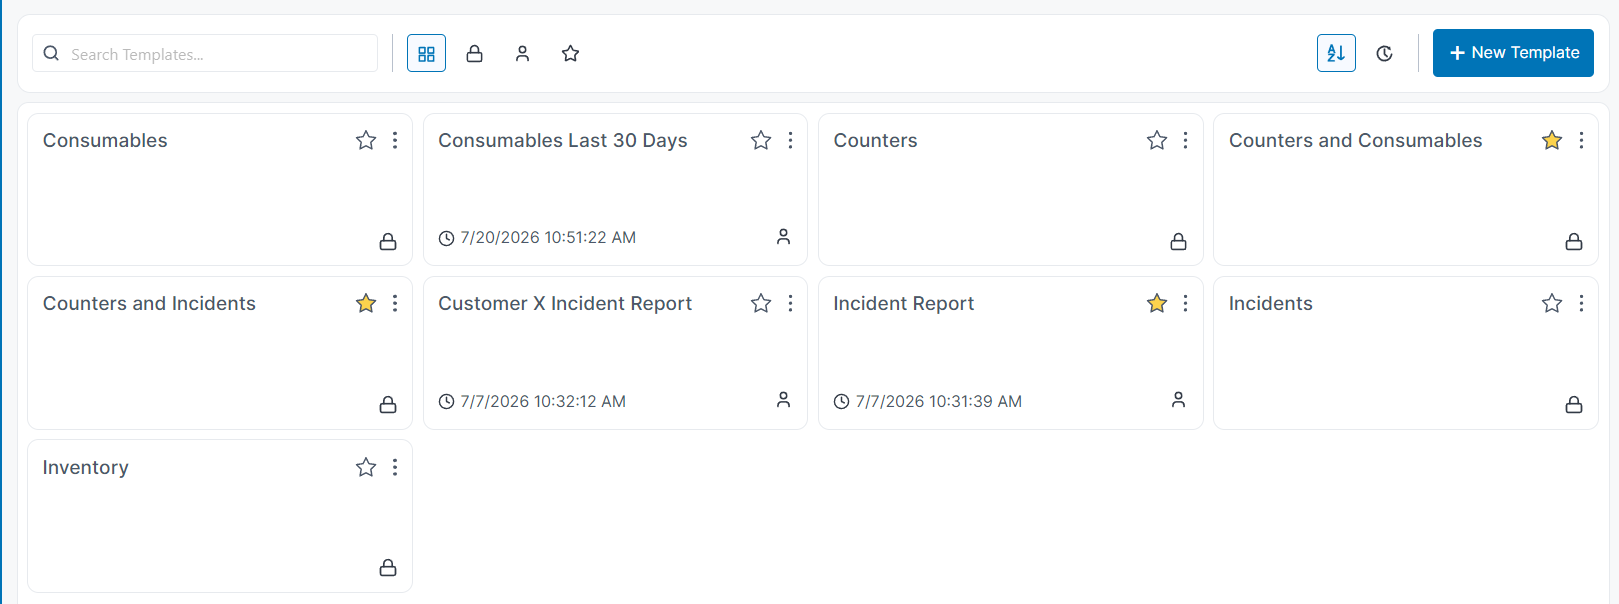
Predefined templates show a lock icon and cannot be edited directly. Copy one to create a private custom template, or create a new template from scratch. Search, sort, and favorites help organize larger template collections.
4. Select customers in hosted environments
- Search by customer name or database.
- Use advanced filters such as billing type, days monitoring, expiration date, or managed device count.
- Customize the customer-list columns when more context is needed.
- Select one or more customers and continue.
5. Define report columns
- Inventory: device type, model, firmware, IP address, department, managed status, and alert email.
- Lifetime counters: black-and-white, color, and total counts.
- Consumables: description, type, level, and days remaining.
- Incidents: severity and alert descriptions.
6. Manage custom templates
Rename, copy, search, sort, and favorite custom templates. Templates are private to their creator in version 8.5.0.0 and cannot yet be shared between users.
7. Generate and export
- Choose Generate to display the report in the browser.
- Select a column heading to sort the visible data.
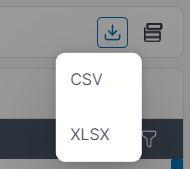
- Choose Export.
- Download the result as CSV or XLSX.
8. Version and support information
Use the About section in Web Reports to confirm the installed version and review third-party licenses. For installers and prerequisites, visit the Downloads page.
No More Viewer or Control Panel?
The SiteAudit Viewer and Control Panel are still products in the SiteAudit family. However, Web Reports obviate the need for users to install these if one only needs to view data and run reports. Users are still authenticated using Microsoft Entra ID and are restricted to accessing their own customer content.