
Sign in to print or save this article
Printing and saving articles is available to signed-in users. Sign in at http://netaphor.com/support/signin, or request an account at http://netaphor.com/support/request-access.
AA-00735 · http://netaphor.com/kb/AA-00735/manually-adding-printers-to-netaphor-siteaudit-visualizer
Manually Adding Printers to Netaphor SiteAudit™ Visualizer
This document describes how to manually add devices to a Visualizer floor plan.
Overview
- Export Visualizer data
- Open Visualizer data file
- Add a new row of data
- Optionally, copy an existing device and paste it into a new row
- Enter or modify data for the device
- Save the Visualizer data file
- Import the Visualizer data file
- Place the devices on the floor map
Procedure
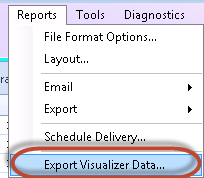
Using the SiteAudit Viewer, export the Visualizer data. This will produce a CSV file that contains the devices that can be added to a Visualizer floor plan.
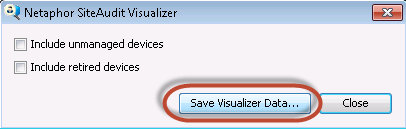
Optionally include unmanaged and/or retired devices and save the Visualizer data
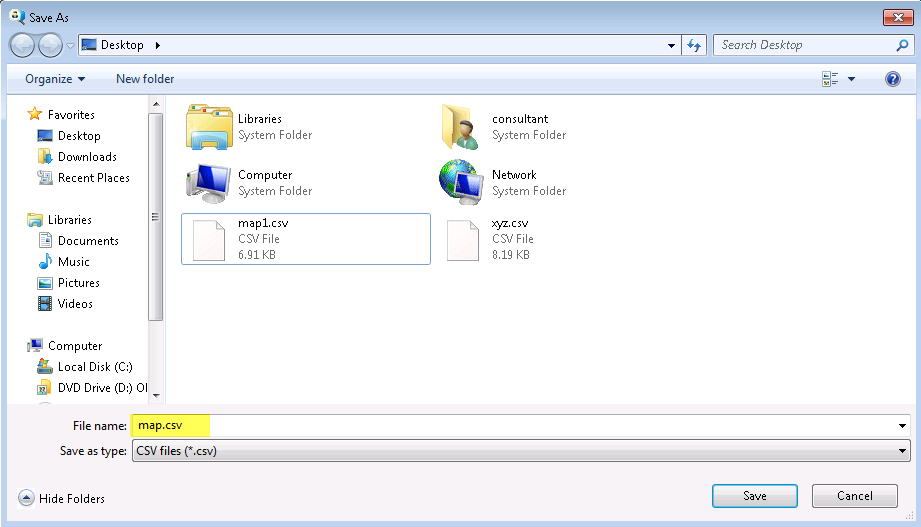
Enter a name for the data file and save the results
The following dialog appears when the data file is created
Modifying the Visualizer Data File
Open the CSV file using Microsoft Excel or a text editor such as Notepad. The file contains a row for each device that can be added to the Visualizer floor plan. Various columns describe the type of data that can be viewed for devices added to the floor plan.

Create a new row and populate each column with information pertaining to the device
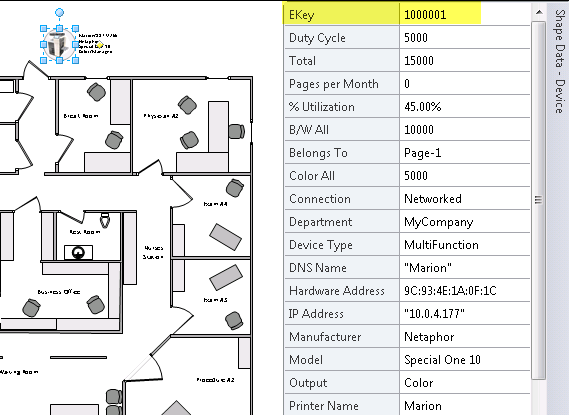
It is important to change the Ekey value as this is a unique device identifier. It is suggested that the Ekey value start above one million.
The example below shows a manually entered device highlighted in yellow. Note the high Ekey value.

Follow the instructions in the Netaphor SiteAudit™ Visualizer Guide to import the Visualizer data and add devices onto a floor map.
The sample below shows a device that was manually added to the Visualizer data and inserted onto a floor plan.