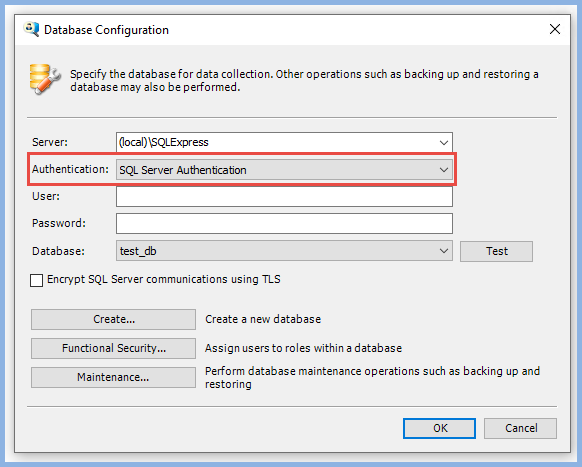
3. Enter the credentials required to access the SiteAudit database. If connecting to a database using Windows authentication, select the Windows Authentication from the dropdown. Otherwise, select SQL Server Authentication and enter the SQL credentials.
All users who access the SiteAudit database MUST have 'db owner' access to the database or be a member of the Database Administrators role.
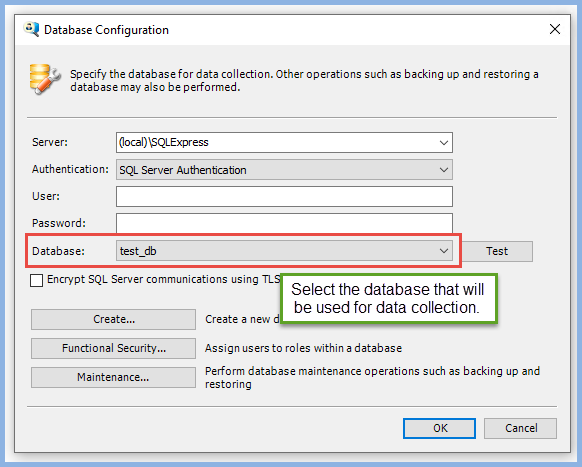
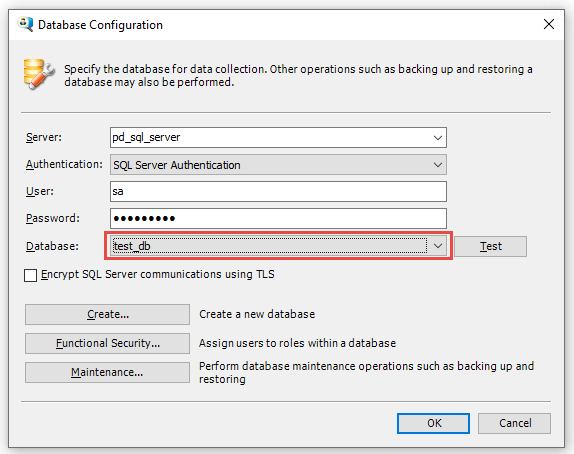
4. Select the database to be used from the drop-down list of databases.
5. Click the Test button to confirm access to the database succeeds.

5. Select the OK button to close the Database Configuration dialog.
6. If the currently installed schema is older than the schema currently supported by SiteAudit, the following prompt will appear. In this case, click the Yes button.

7. If the database was created using Microsoft SQL Management Studio, an error message will appear indicating that the newer schema must be installed. To install the schema, click the Yes button.

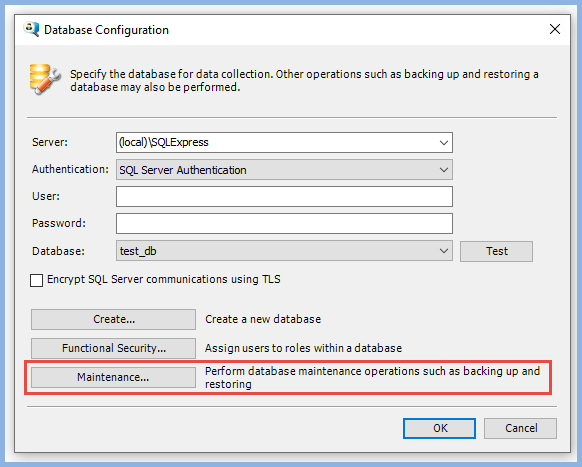
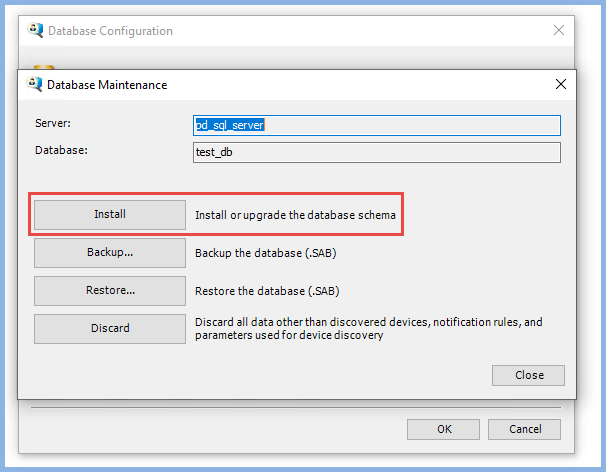
8. Select Maintenance in the menu bar and then then click Install to update to the most current schema.
9. A warning window will appear notifying of reseeding the counters table and possible extended time needed to process this operation. Click Yes to continue.
10. The Schema update process progress window will appear. If this process is interrupted for any reason, then you should restore the database backup and repeat the process.

11. Click OK after completion.

Performing Administrative Functions
To perform administrative functions such as creating a SQL database for use within SiteAudit or adding a user, proper administration credentials must be provided. It is possible to create new databases or add SQL users from the Administration console.
Prior to performing any administrative functions, the user must first connect to the SQL server by providing the right set of credentials either using Integrated Security or by entering the credentials. The credentials must be those of an administrator (e.g. "sa") to perform these administrative functions.
1. Select Setup > Database to open the Database Configuration dialog, then from the File menu select Administration.

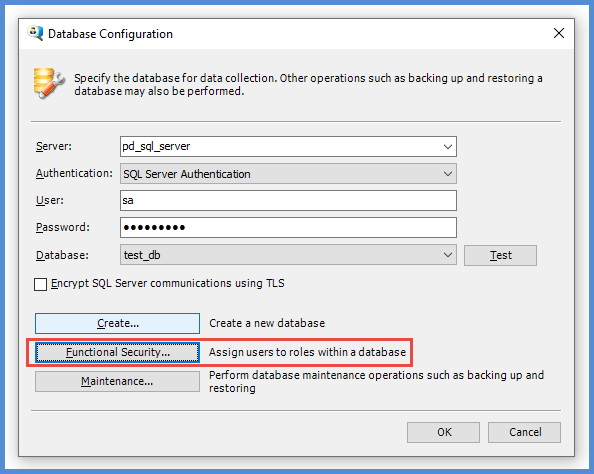
Creating a Database
When a database is created from the Database Configuration dialog, the SiteAudit schema is automatically installed and so the database is ready for SiteAudit to begin monitoring immediately after creation. If a database is created using SQL Management Studio, then it must first have the schema installed before monitoring can commence.
1. Connect using administrative credentials if not already logged in.
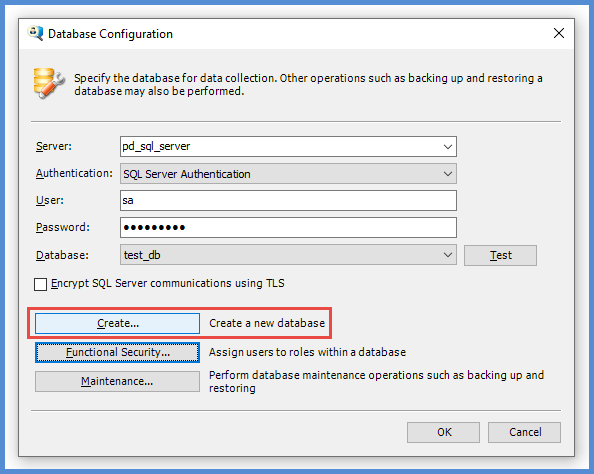
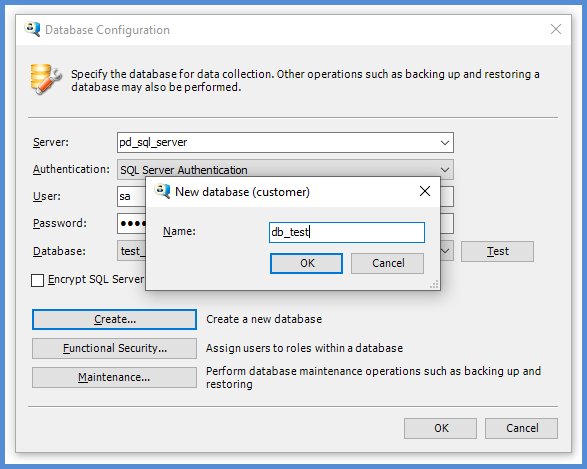
2. Enter a name for the new database in the Database field and click the Create button.
3. Click the Close button to close the server administrator console. Then in the Database Configuration dialog, drop down the Database list and select the database that was created in the previous step.
Creating a User
It is possible to create a new user through the Database Configuration Administration tab. This user has the authority to select, backup, and restore databases but cannot create new databases or add new users. If access to the SiteAudit database is available using Integrated Security, then it is not necessary to create a user.
Creation of a user requires SQL administrator privileges.
1. Connect using administrative credentials if not already logged in. See Performing Administrative Functions for logging onto Server Administration.
2. To add a new user, enter the new user name and password then click on the Add user button. The password must be at least 8 characters and contain a minimum of 1 alphabetical character and 1 digit.
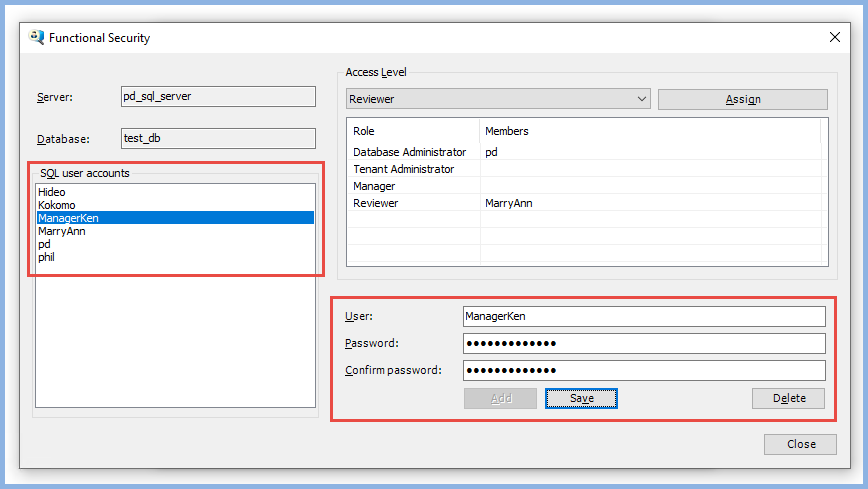
3. After the new user is created, ensure the user name is selected in the SQL user accounts and ensure the desired database is selected.
4. Select File > Assign Database Ownership. This will give the selected user owner access to the selected database.
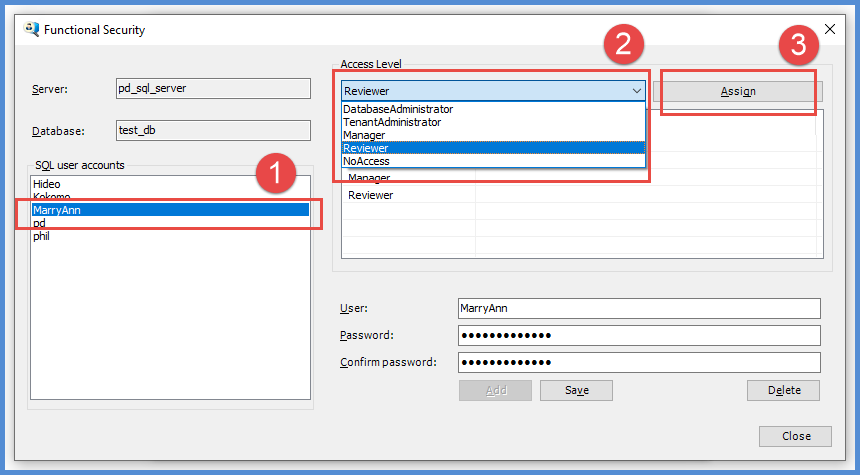
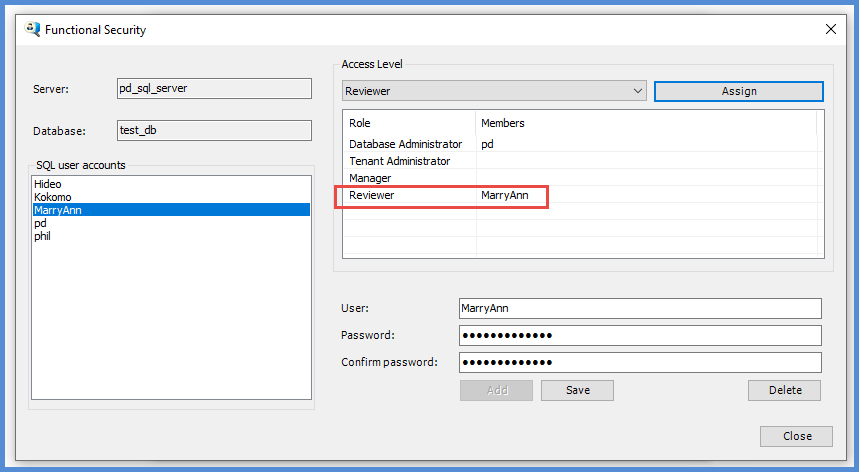
6. Enter the new credentials to access the database.
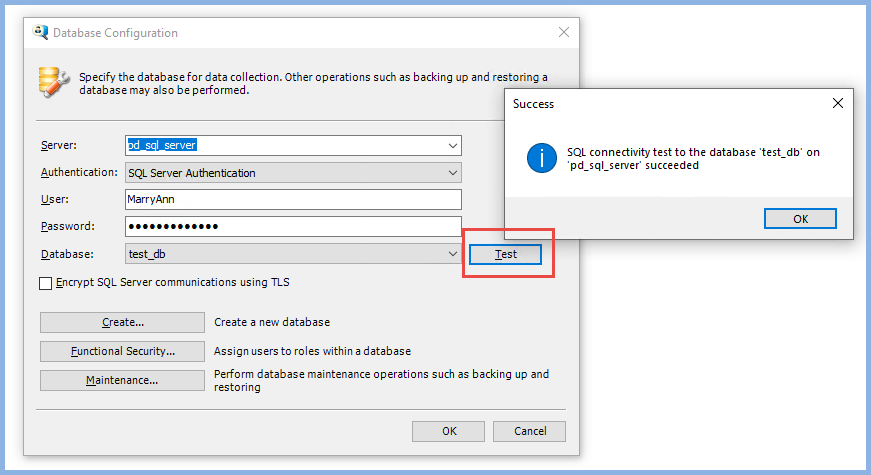
7. Click OK to close the Database Configuration dialog.
See Assigning Roles for Windows Authenticated Users to learn more about creating Windows users.