
Sign in to print or save this article
Printing and saving articles is available to signed-in users. Sign in at http://netaphor.com/support/signin, or request an account at http://netaphor.com/support/request-access.
AA-01280 · http://netaphor.com/kb/AA-01280/asset-tool-create-and-modify-custom-fields-with-the-siteaudit-asset-to
Asset Tool - Create and modify Custom Fields with the SiteAudit Asset Tool
Create and modify Custom Fields with the SiteAudit Asset Tool
The SiteAudit Asset Tool Custom Fields tool allows the user
- Save: 15 custom fields
- 6 string fields
- 3 date fields
- 6 integer fields
- Reset
- Resets the text fields before the custom field is saved, once the field is saved, the field cannot be reset.
- Delete
- Deletes a custom field
For more information on Custom Fields: Custom Fields
Before creating Custom Fields, verify that the 'Server' and 'Database' fields are correct
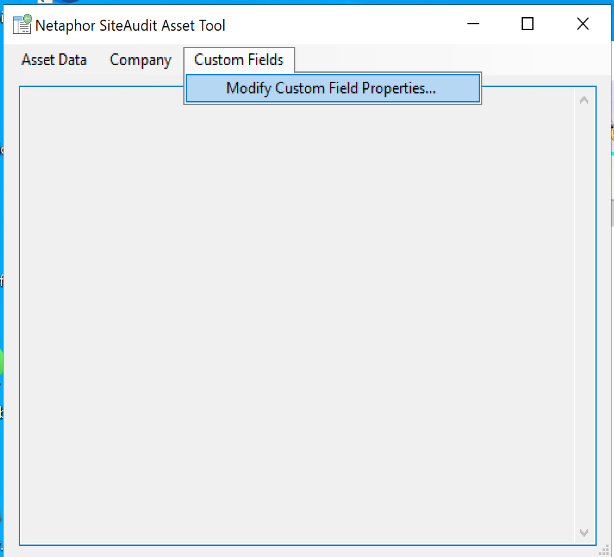
- Open the 'Netaphor SiteAudit Asset Tool'
- Click the button 'Custom Fields'
- Select 'Modify Custom Field Properties...' from the drop down menu
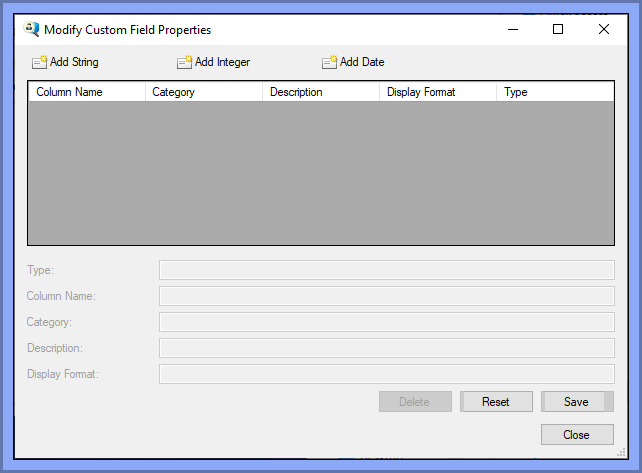
'Modify Custom Field Properties' window opens
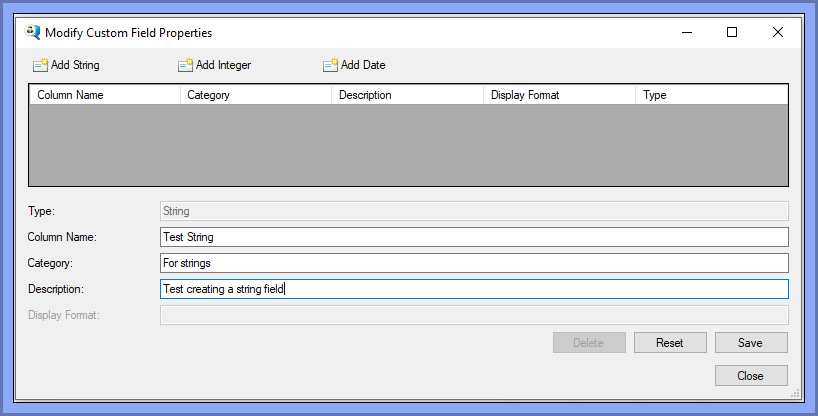
Add String
4.a. Click the button, 'Add String'
5.a. Fill in the fields:
- Column Name (Mandatory)
- Category
- Description
6.a. Click the button, 'Save'
A Custom Field String is added to SiteAudit
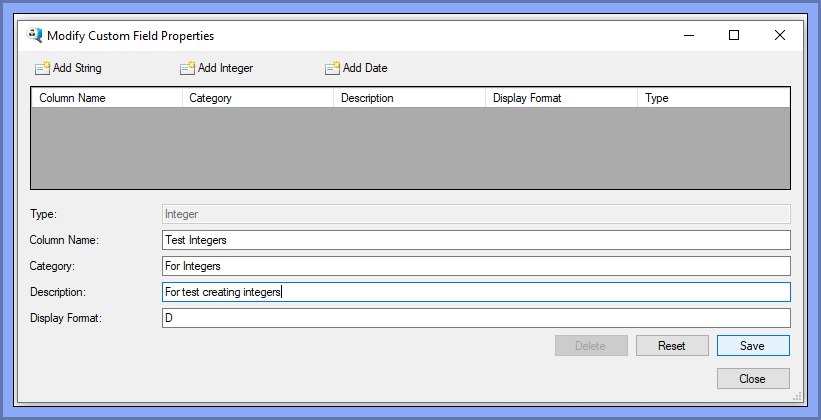
Add Integer
4.b. Click the button, 'Add Integer'
5.b. Fill in the fields:
- Column Name (Mandatory)
- Category
- Description
6.b. Click the button, 'Save'
A Custom Field Integer is added to SiteAudit
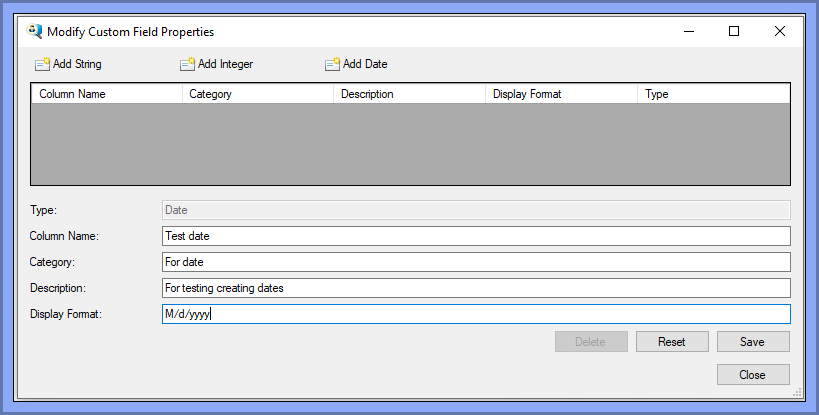
Add Date
4.c. Click the button, 'Add String'
5.c. Fill in the fields:
- Column Name (Mandatory)
- Category
- Description
6.c. Click the button, 'Save'
A Custom Field Date is added to SiteAudit
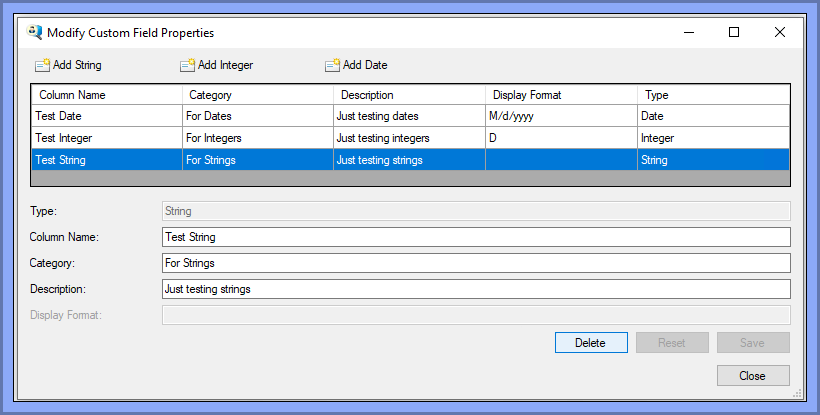
Delete a Custom Field
- Select the Custom Filed to be deleted
- Click the button, 'Delete'
Viewing the Custom Fields in SiteAudit
- Open SiteAudit Viewer
- Click on the Inventory Tab
- Right Click the column header
- Select the 'Column Chooser''
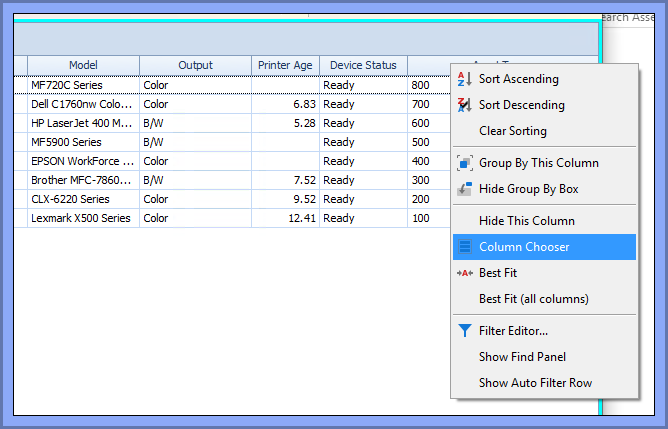
'Customization' window appears
- Double-Click on the custom fields that were created in order to add them to the SiteAudit Viewer
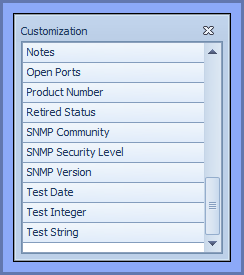
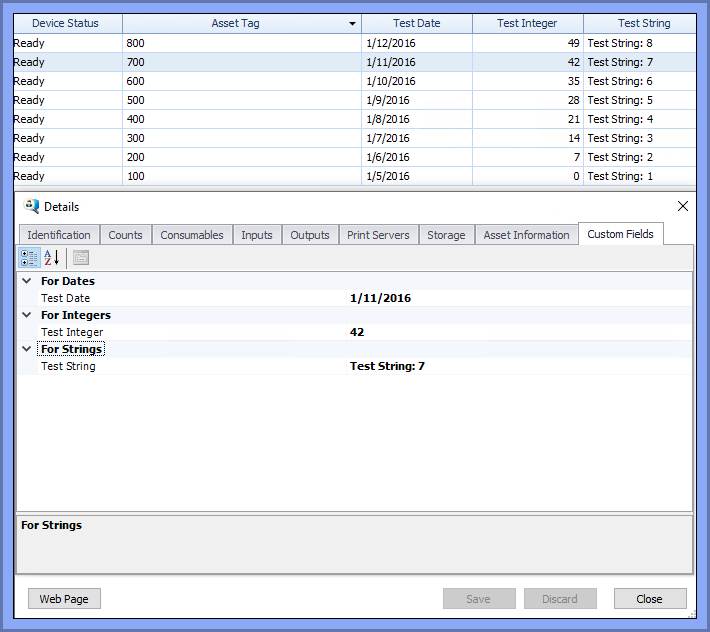
The Custom Fields Appear in the SiteAudit Viewer
To quickly update Custom Fields
- Export asset data from the SiteAudit Asset Tool
- Open the CSV file with excel
- Modify the Custom Fields
- Save the modified CSV File
- Import the modified CSV file with the SiteAudit Asset Tool
- Verify the imported data is correct in SiteAudit

To inspect each printers Custom Fields Closely
- Right-Click on the printer that should be inspected
- Click the 'Custom Fields' tab
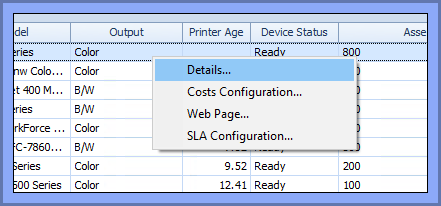
- Click the 'Custom Fields' tab